Installing or Removing the Laser Module from the Nova-Pro® Stroboscope/Tachometer
The Laser Module for Nova-Pro® 100 is optional and is included with the Nova-Pro® 300 and 500.
Detailed, step-by-step instructions and information on how to use, assemble, maintain, and troubleshoot a product or service.
The Nova-Pro® 100 model has an optional Laser Module that can be installed in the stroboscope to make it a fully-functional strobe/non-contact tachometer. Once in position the integral laser module will become part of the user interface controls.
Laser Module Dock Station and Supplied Mini-tripod
The Laser Module and Laser Module Dock allows you to extend the versatility of the Nova-Pro 300 and 500 LED Stroboscopes by positioning the laser source remotely away from the handheld cradle. The mini-tripod connects using a standard quarter-twenty [¼-20] mounting screw
The Laser Dock with integrated Laser Module has a 2.5 meter [eight feet] wire length terminating in an eighth-inch mini jack, which should be plugged into the external INPUT port on the side of the stroboscope. This will charge the Laser Diode. Do not look directly into the output port of the laser to see if it is working, this is a Class 2 Laser device.
The laser becomes illuminated when you squeeze the trigger on the handle or have engaged the full-time laser trigger mode. When pointed at moving objects the Laser receptor recognizes reflective pulses and inputs these signals to the Strobe/tachometer. You can use these to measure speed or trigger a flash, effectively capturing that moment in time using the strobe’s freeze-frame illusion capabilities. Remember, moving objects always present a danger even when appearing to be stopped by a strobe flash.
The Laser Module Dock Station and the Laser Module can be purchased separately. Both the Nova-Pro model 300 and 500 have the Laser Module installed in the strobe. This can be removed and used to remote the laser beam using the Dock Station.
How to set up the Laser Dock Station for remote laser operation.
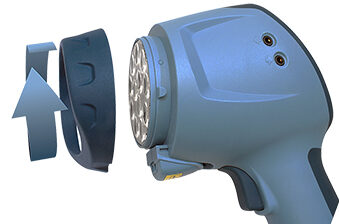
1.) With the strobe turned off, face the lens output area and grasp the dark blue ring that covers the lens, rotate it 10 degrees counterclockwise. This will become free of the strobe device, be careful to not disturb the clear plastic LED lens which rests below the ring. If it becomes loose, locate the notch in the lens and aligning it at twelve-o’clock (top edge) in the lens holder.
2.) The Laser Module can be slid into or out of its mounting with direct pressure on the bottom of the module. When replacing the module into the strobe cradle make sure it is completely seated before replacing the dark blue ring which holds the module and LED lens in place.
3.) The Laser Module Dock has a similar slide-mounted cradle. Remove the blanking panel or module by pushing the slide-lock drawer down while sliding the plastic part forward. The blanking panel should be used to protect the electronic contacts in the Nova-Pro Strobe or Module Dock whenever the Laser Module has been removed.
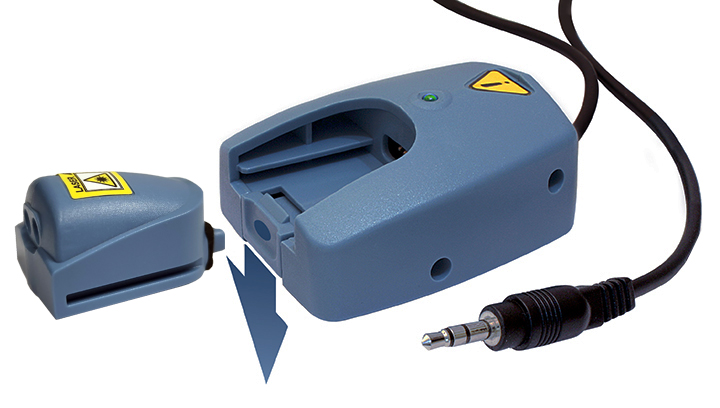
4.) Plug the Module Dock’s eighth-inch [stereo Min-jack] into the external input port on the side of the strobe.
5.) Turn on the strobe and the User Interface will recognize the Laser Module. This external port can be disabled through the same User Interface, refer to your Manual for more information.

Laser Module Configurations
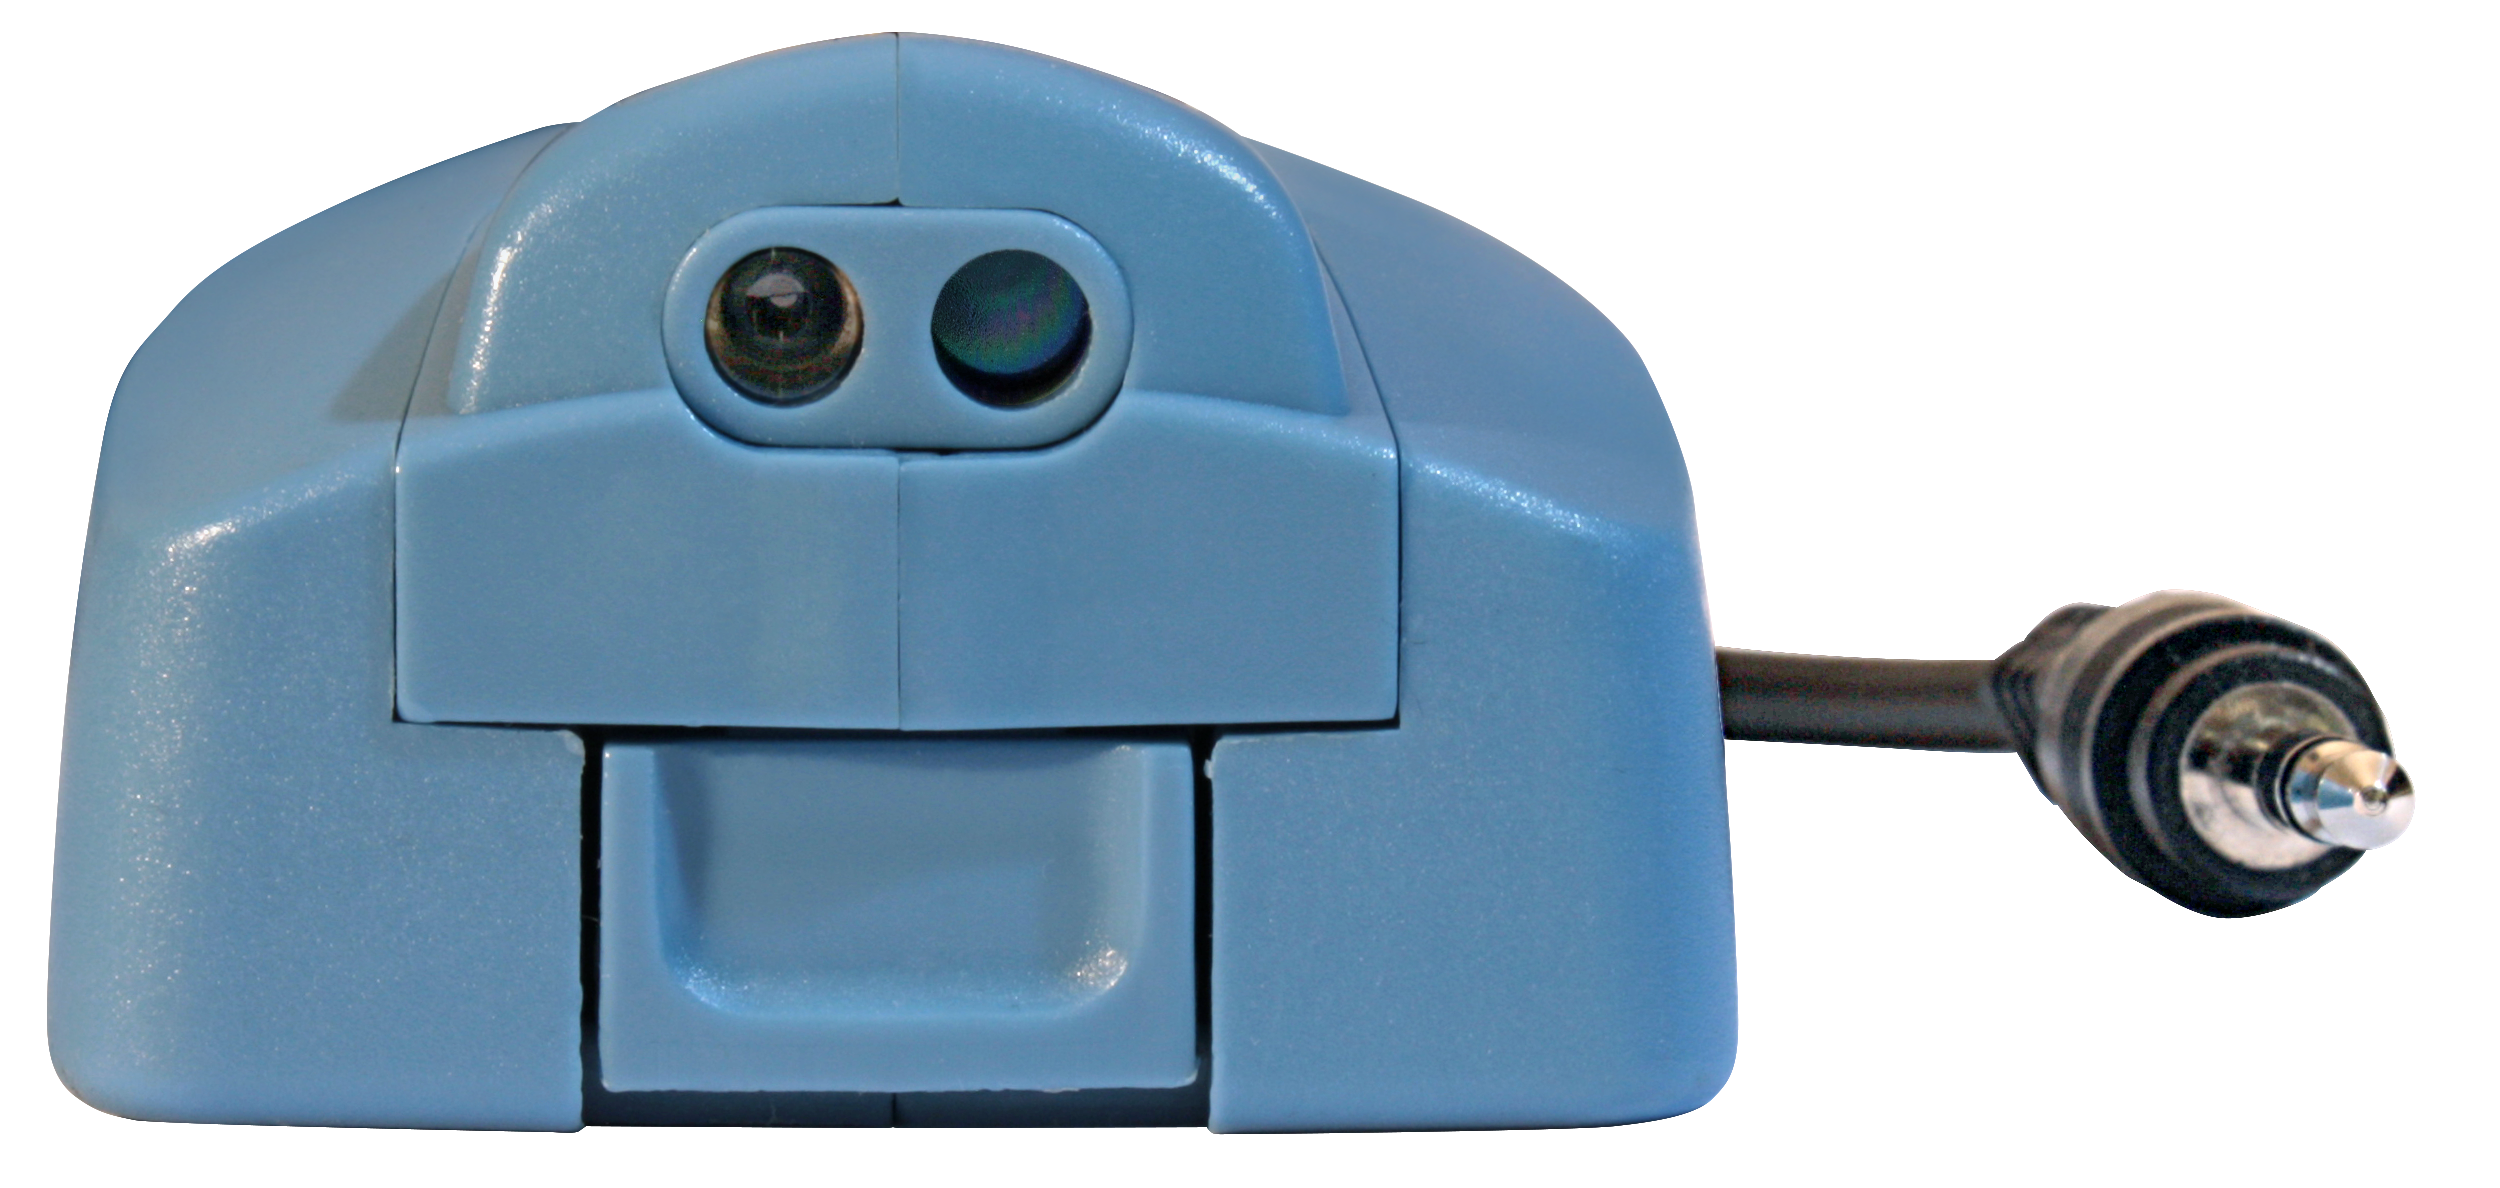
The Laser Module uses a focused laser beam and reflection receptor that recognizes a momentary glint, triggering an impulse to the Strobe/Tachometer through the eighth-inch mini jack.
The Nova-Pro Model 100 uses that signal to calculate the frequency of the reflections and displays a number represented in Flashes Per Second (FPS), Revolutions Per Minute (RPM), or Revolutions Per Second (RPS). FPS and RPS are the same as Hz. This same signal can be used to trigger the strobe flash at that exact same moment – visually freeze-framing the moving object.
The Nova-Pro Model 300 provides that same features, but through the use of the Laser Module Dock, External Input Port and remote positioning, you can target an area that is safely out of your direct line of sight.
The Nova-Pro Model 500 provides all the features above and has additional software to manipulate the flash rates enabling valuable strobe delay visual effects.
Strobe Delay (Model 500 only)
When you position the laser trigger source and reflection away from the strobe’s flash point and viewing, you can see different locations in the rotation. The same is done virtually with Strobe Delay for both an installed and remoted Laser Module. An example of this may be the ability to see any one of six rotating fan blades in a small window of visibility by delaying the strobe flash relative to the triggering signal.
The Model 500 allows you to set a flash delay for either the internal (installed) or external (remote) Laser Module. Refer to your manual for Menu Setup instructions.
Phase Shifting can be determined as follows:
Phase Delay allows you to set the flash in degrees from -360° to +345°, relative to the speed of rotation. So six fan blades would be indexed into position by 60 degree increments (60, 120, 180…), regardless of any variance in the rotation speed. .
Time Delay is similar but set by an absolute value between -50.000 to + 50.000 milliseconds (msec). This is a constant and is not effected by the speed of the rotating device.
Virtual RPM creates a slow motion effect, accounting for variances in speed, with a setting of 0 to 60 RPM. The Nova-Pro calculates multiple flash rates creating a sequence of visual time slices to help you spot an irregularity in a moving process.
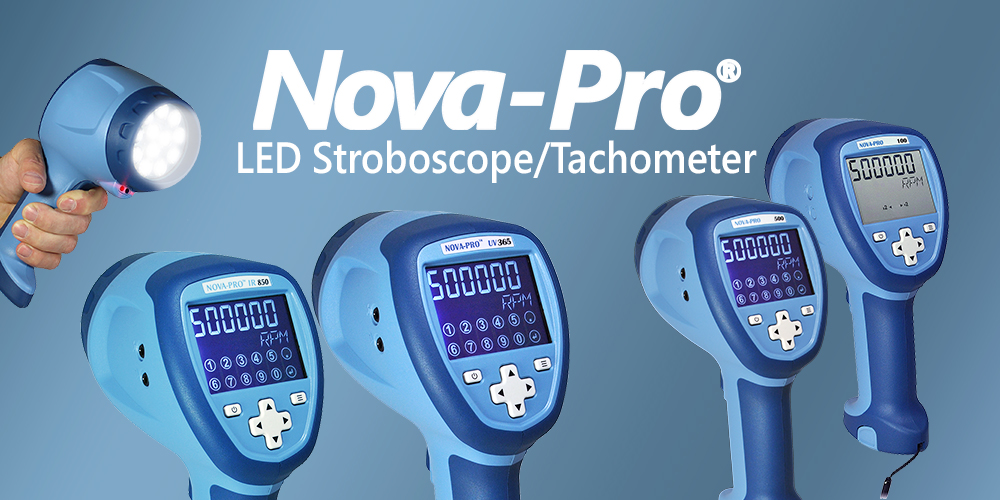
Nova-Pro® features:
Flash Range: 30-999,999 FPM
Splash-Resistant IP54 Enclosure
Super Bright LEDs
Strobe and Tachometer in one!
Available in 5 models including Ultraviolet and Infrared!